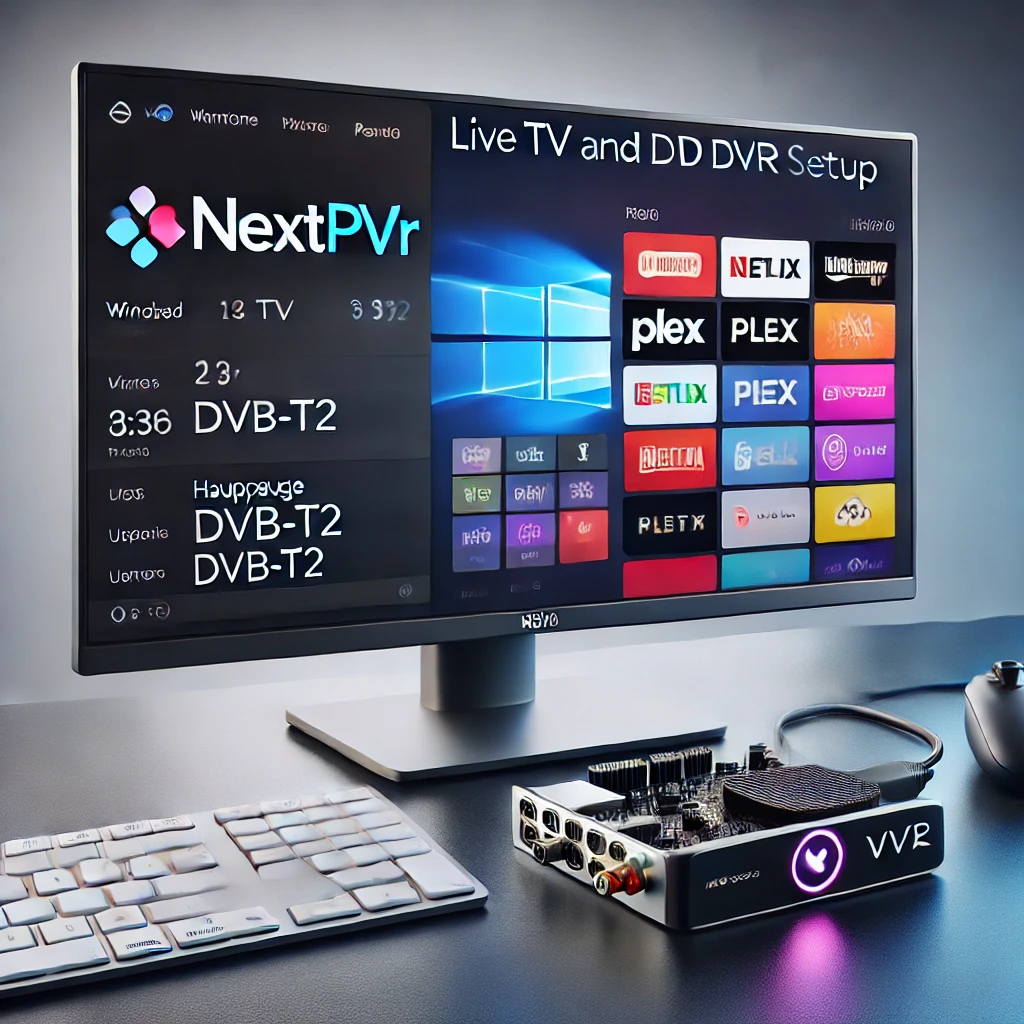
If you're looking to set up a powerful home media center with live TV support, integrating NextPVR with Plex is a fantastic solution. This guide walks you through the process of configuring both applications on a Windows machine with the Hauppauge DVB-T2 WinTV HVR-935C HD USB 2.0 Stick. The setup leverages NextPVR for Electronic Program Guide (EPG) data using XMLTV while allowing Plex to handle channel scanning directly through the TV tuner.
Note: A Plex Pass subscription is required to set up PVR functionality in Plex, including Live TV and DVR features.
1. Install and Configure NextPVR
Step 1: Download and Install NextPVR
- Visit the NextPVR website and download the latest Windows installer.
- Run the installer and follow the prompts to complete the installation.
Step 2: Configure the TV Tuner in NextPVR
- Launch the NextPVR application.
- Go to Settings > Devices.
- Select your Hauppauge DVB-T2 USB TV Tuner.
- Click Scan Channels to detect available channels.
- Save the detected channels.
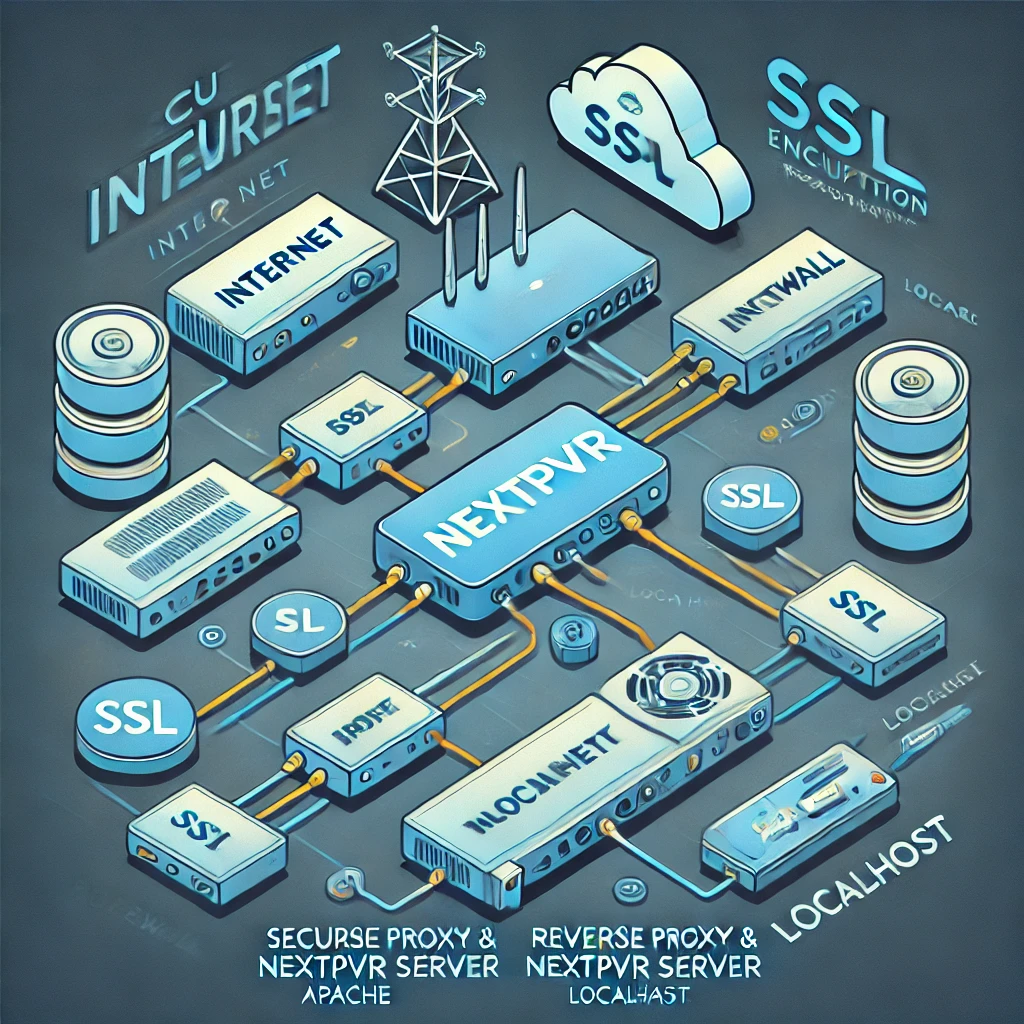
Step 3: Enable Unauthenticated Access in NextPVR
- Go to Settings > Access Control.
- Enable Unauthenticated Access by checking the option:
- Allow unauthenticated access for streaming Live TV / Recordings.
- Save the settings.
2. Install and Configure Plex
Step 4: Install Plex Media Server
- Download and install the Plex Media Server from plex.tv.
- Create a Plex Account if you don’t already have one.
- Log in to the Plex Web App.
Step 5: Configure Plex for Live TV and DVR
- Navigate to Settings in the Plex Web App.
- Go to Live TV & DVR.
- Click on Set Up Plex Tuner to begin configuring the TV tuner.
- Select the detected tuner (e.g., Hauppauge WinTV-dualHD) and click Next.
Step 6: Configure XMLTV EPG Source
- When prompted, click Have an XMLTV guide on your server? Click here to use it.
- Enter the following details:
- Language: Select your preferred language.
- XMLTV GUIDE URL: http://localhost:8866/service?method=channel.xmltv
- Guide Title: Enter the title as NextPVR.
- Click Continue and allow Plex to process the XMLTV data.
Step 7: Match Channels to EPG Data
- Plex will scan the channels and attempt to match them with the EPG guide.
- Review the matches and manually reassign channels if needed.
- Click Continue to finalize the setup.
3. Test the Integration
Step 8: Validate the Setup
- After setup, Plex will start downloading the EPG data.
- Progress can be monitored under DVR Settings.
- Once complete, navigate to the Guide tab under Live TV to view the EPG grid.
4. Troubleshooting Tips
- No Channels Found in Plex? Verify that Windows detects the USB TV tuner properly.
- Missing EPG Data? Confirm the XMLTV URL is reachable from the Plex server and that the guide title matches.
- Playback Issues? Adjust Plex transcoding settings for better performance.
Conclusion
With this setup, you can enjoy a seamless TV viewing experience using NextPVR for EPG data and Plex for channel scanning and playback. Let us know if you encounter any issues or have tips to improve this integration further!