Introduction
Streaming your media securely from a NextPVR backend server can be a game-changer for your home entertainment setup. This guide walks you through setting up a reverse proxy server using Apache 2.4, complete with SSL encryption for secure remote access. Whether you are using NextPVR on Windows or Linux, this tutorial simplifies the process while ensuring robust security.
Architecture Overview
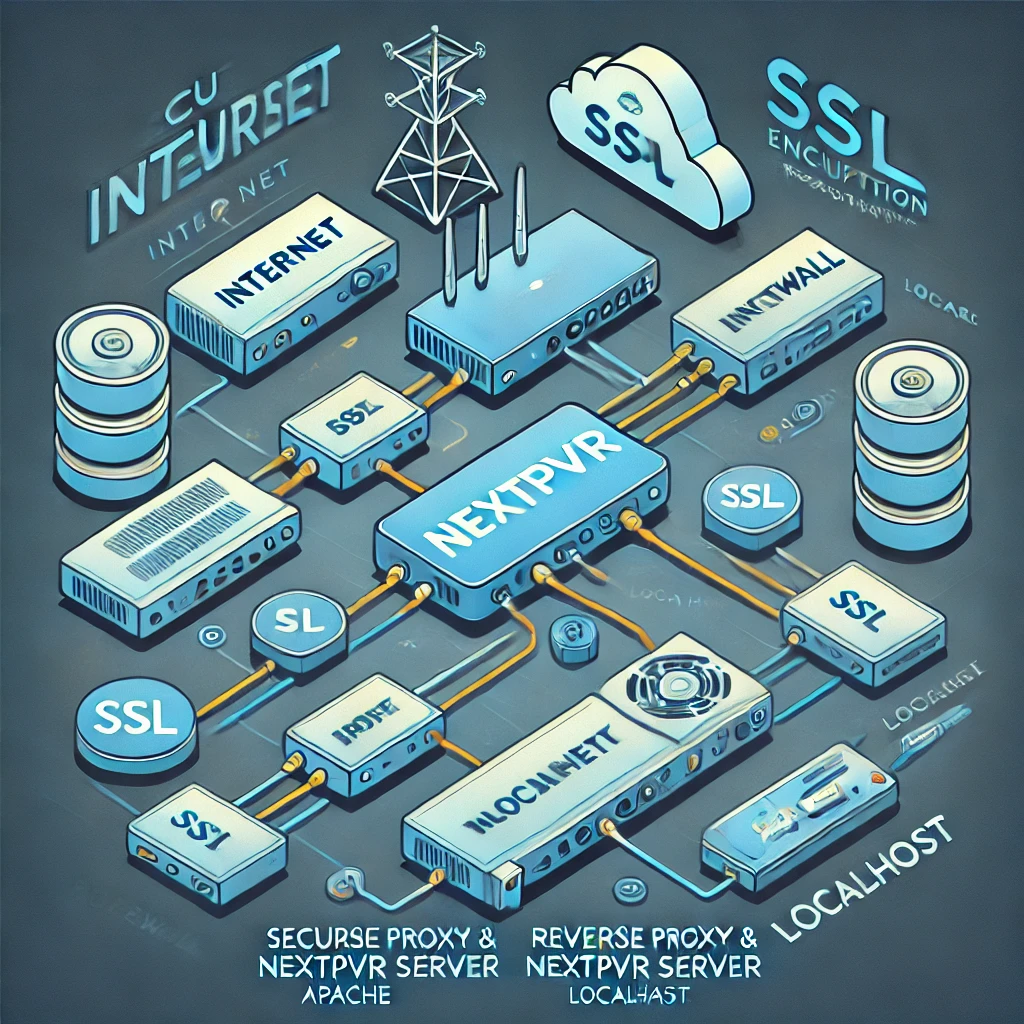
To ensure secure access, we propose the following network architecture:
- Client Devices - Devices on the internet accessing the media content.
- Reverse Proxy Server - Intercepts requests and routes them securely.
- NextPVR Backend Server - Hosted on the same machine as the reverse proxy, utilizing localhost for fast internal communication.
- Router/Firewall - Protects internal servers.
[Client] <---> [Internet] <---> [Router/Firewall] <---> [Reverse Proxy & NextPVR Server]
Prerequisites
- Domain Name - A domain that points to your public IP (use Dynamic DNS if needed).
- Router Configuration - Port forwarding for TCP Ports 80 and 443.
- Installed Software - NextPVR and Apache 2.4.
- SSL Certificate - Preferably from Let's Encrypt.
Step 1: Configure Apache Reverse Proxy
- Navigate to Apache's configuration directory:
cd APACHE_HOME/conf - Open and edit httpd.conf:
LoadModule proxy_module modules/mod_proxy.so
LoadModule proxy_http_module modules/mod_proxy_http.so
LoadModule ssl_module modules/mod_ssl.so
- Enable Virtual Hosts by editing httpd-vhosts.conf:
<VirtualHost *:80> ServerAdmin admin@example.com DocumentRoot "${SRVROOT}/htdocs" ServerName example.com ErrorLog "logs/example-error.log" CustomLog "logs/example.log" common Redirect permanent / https://example.com/ </VirtualHost> - Save and restart Apache:
httpd -k restart
Step 2: Enable SSL with Let’s Encrypt
- Obtain an SSL certificate:
certbot certonly --webroot -w /var/www/html -d example.com - Edit httpd-ssl.conf:
<VirtualHost *:443> SSLEngine On ServerAdmin admin@example.com ServerName example.com SSLCertificateFile "/path/to/fullchain.pem" SSLCertificateKeyFile "/path/to/privkey.pem" ProxyPreserveHost On ProxyPass / http://localhost:8866/ ProxyPassReverse / http://localhost:8866/ </VirtualHost> - Restart Apache:
httpd -k restart
Step 3: Configure NextPVR for Remote Access
- Access NextPVR Settings and set an Access PIN.
- Enable Remote Access in the web interface.
- Save settings and restart NextPVR.
Step 4: Configure Kodi as a Client
- Open Kodi and navigate to Settings > File Manager.
- Locate the configuration file:
Profile Directory/addon_data/pvr.nextpvr/settings.xml - Edit the file:
<setting id="host">example.com</setting>
<setting id="port">443</setting>
<setting id="pin">1234</setting>
<setting id="hostprotocol">https</setting>
- Restart Kodi to apply changes.
Final Thoughts
By following this guide, you've built a secure, SSL-encrypted reverse proxy for NextPVR, enabling remote access to your media collection. With Apache as the reverse proxy and NextPVR as the media backend on the same server, your setup is optimized for speed, security, and ease of use.
For more tweaks and custom configurations, explore NextPVR's official documentation and Apache's user guides. Enjoy seamless and secure streaming!